
Sometimes you need to add extra sections to your knitting. These could be used for bust darts or simply to create an interesting shape in a shawl. I use short rows to add depth and to creating interesting shapes in my Australis shawl and thought I would share a quick tutorial for my preferred method, wrap and turn short rows.

1. Work the necessary number of stitches before being asked to turn your work, then move the working yarn to the opposite side of your work. (I am knitting in stocking stitch so I have brought the working yarn to the front. If you were knitting purl stitches you would carry the yarn to the back.)
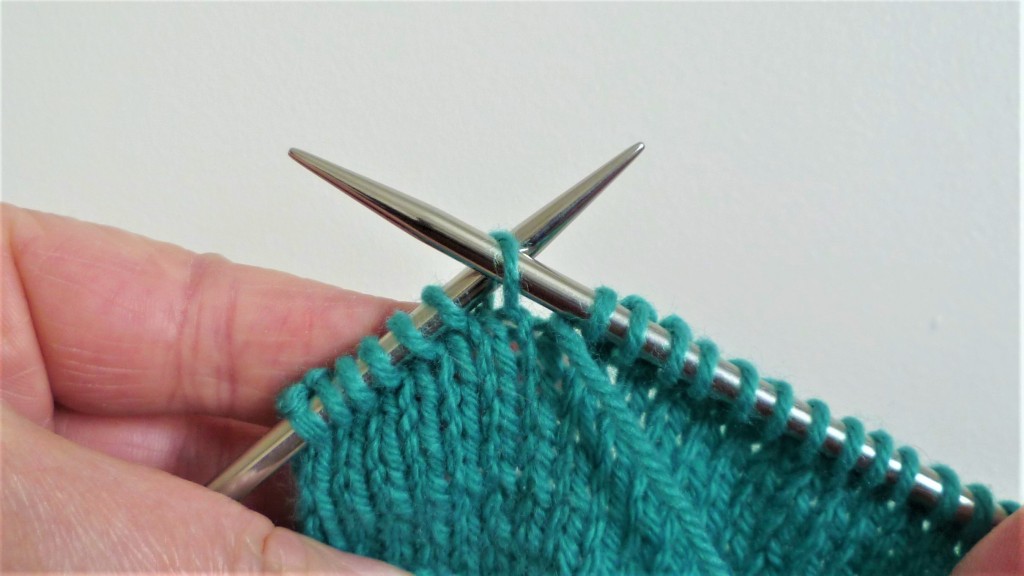
2. Slip the next stitch on the left-hand needle purl-wise.
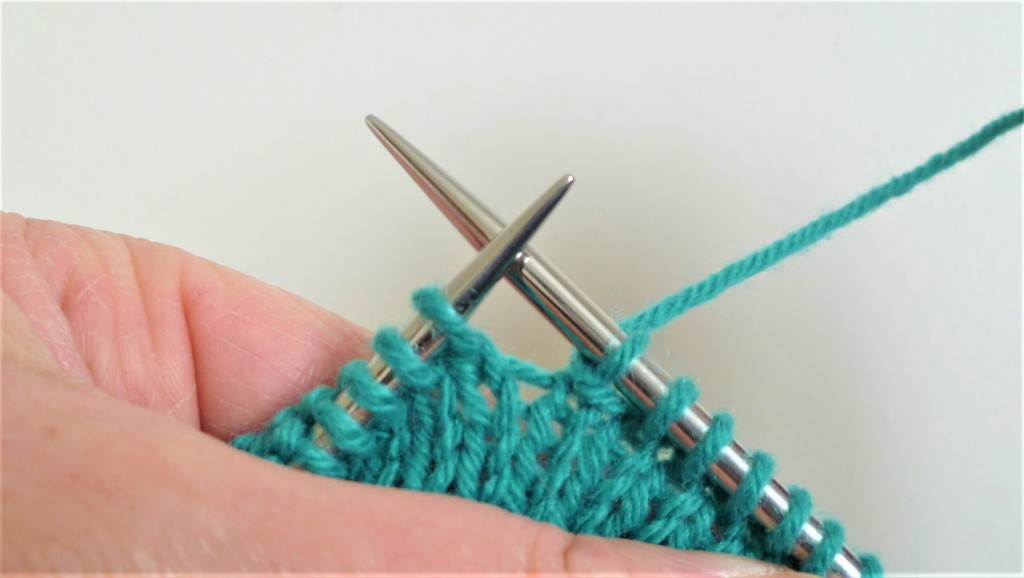
3. Take the working yarn back to the correct side of your work.

4. Slip the stitch on the right-hand needle back to the left-hand needle.

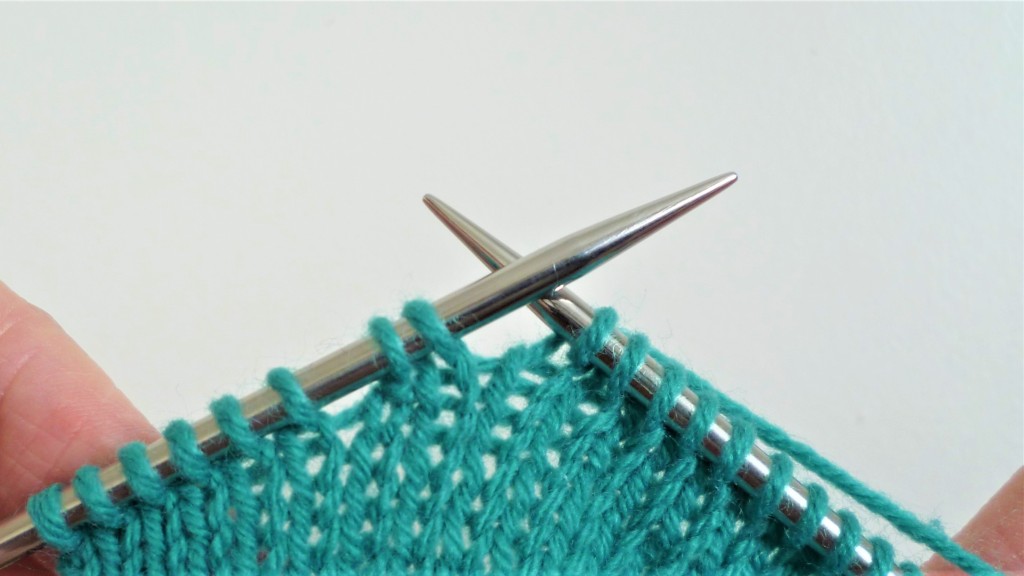
5. Turn your work and continue to work as directed to the end of the row. (As I am going to purl this row, I have left the yarn at the front. If you were to knit this row, bring the yarn between the needles to the back of the work.)
6. To work the next right side row, work the necessary number of stitches before being asked to turn your work. Here I have worked to 1 stitch before the last wrapped stitch. To wrap the stitch, repeat instructions 1 – 5. Continue in this way until you have worked the necessary number of rows.

7. When you have completed all the short rows you will begin to work across all the stitches again, working the wrapped stitches as you come to them. When you come to the first wrapped stitch, insert the right needle in to the wrap of yarn that is around the base of the next stitch and lift it on to the left-hand needle. (If this is a knit stitch lift the wrap from the front, if it is a purl stitch lift the wrap from the back.)

8. Work the wrap and the stitch together.

9. Continue until you have worked all the wrapped stitches.
Tip: The wrapped stitches will leave a slight gap after them on the needle (see image 6). These gaps can often be difficult to spot so after turning your work you could place a stitch marker before continuing to knit the wrong side row. This way you will be able to see exactly where the wrapped stitch is and leave the necessary number of stitches before the marker before wrapping the next stitch. These stitch markers can then be removed as you begin to work the wrapped stitches and move on to working the full row again.